The Installation Process of pagoda Tents: A Step - by - Step Guide
Many people worry that the installation is too complicated when buying an outdoor tent. In fact, the Pagoda tent is very easy to install due to its user-friendly design. Here is a detailed introduction to the installation steps of the Pagoda tent.

Step 1: Site Cleaning and Planning
Before installation, select a flat, dry site and remove sharp objects, stones and debris in the site to avoid scratching the tent. At the same time, plan the placement of the tent according to the size of the tent and the needs of the activity.
Step 2: Component Inventory and Arrangement
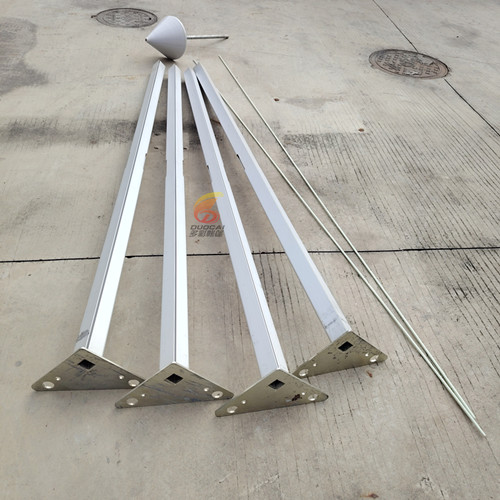
Open the tent packaging, take out all the components, and count the number according to the instructions to ensure that all accessories are complete. Pagoda tent components usually include the tent body, frame poles, ground nails, windproof ropes, etc. After that, place the components in categories for subsequent installation.
Step 3: Frame Construction
Take out the tent frame poles and assemble them according to the instructions. Most Pagoda tents use a plug-in or snap-on design. You only need to connect the frame poles in sequence to quickly build the tent frame. After assembly, place the frame in the planned location.
Step 4: Laying the tent body
Unfold the tent body and cover it on the built frame, paying attention to the direction and opening position of the tent. Then, fix the connection points on the tent body and the frame one by one. Common methods include hooks, Velcro or knots, which are simple and quick to operate.
Step 5: Fixing the ground nails and windproof ropes
To enhance the stability of the tent, it is necessary to fix it with ground nails and windproof ropes. At the ground nail rings around the tent, insert the ground nails into the ground at a 45-degree angle, then tie one end of the windproof rope to the ground nails, and fix the other end to the corresponding pull ring of the tent, and tighten it appropriately. In an environment with strong winds, the number of ground nails and windproof ropes can be increased to ensure the stability of the tent.
Step 6: Inspection and adjustment
After completing the above steps, conduct a comprehensive inspection of the tent. Check whether the tent body is flat, the frame is stable, and the ground nails and windproof ropes are firmly fixed. Make appropriate adjustments if necessary.
The installation process of the Pagoda tent is simple and clear, and it is easy to get started even without rich outdoor experience. By following these steps, you can quickly build a comfortable outdoor space.
https://www.dc-tent.com/pagoda-tents/