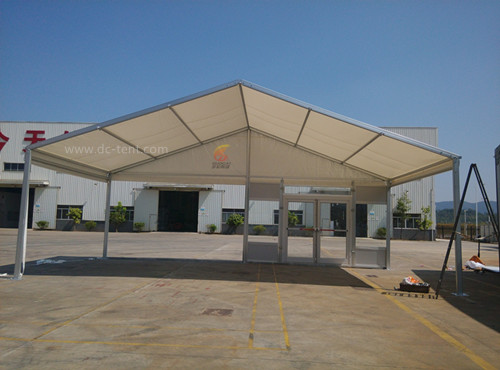
Full-process guide for installing mobile event tents
When traveling outdoors, mobile event tents can provide us with a comfortable leisure space. Correctly installing mobile event tents can not only ensure safety in use, but also improve the user experience. The following is a detailed introduction to the full process of installing mobile event tents.

Preparation before installation: Before installing the mobile event tent, first select a flat, dry and well-drained site, avoid low-lying areas, under large trees and on the edge of the mountain to prevent the risk of water accumulation, falling objects and mudslides. Carefully check the tent accessories to ensure that all parts are complete, including the tent body, brackets, ground nails, windproof ropes and instructions. Prepare installation tools, such as hammers for nailing ground nails, cranes for lifting frames, ladders for fixing high fasteners, wrenches for tightening screws, etc.
Build the tent body: Lay the tent body flat on the selected site. When unfolding, pay attention to the direction of the tent door. Generally, choose a direction with a wide field of vision and convenient access. Find each pyramid of the tent, insert the corresponding bracket into the aluminum or connection point of the tent, and tighten the screws.
Fix the bracket: After all the brackets are built, use the matching connectors to firmly connect the brackets to ensure that all parts are tightly combined and will not shake. Some tent brackets may need to be rotated and tightened. Be sure to follow the instructions to make the tent structure stable.
Fix the ground nails and windproof ropes: At each corner and key position of the tent, use a hammer to insert the ground nails at a 90-degree angle into the ground to ensure that the ground nails are firmly embedded in the soil. Then tie one end of the windproof rope to the ground nail and the other end to the pull ring at the corresponding position of the tent. Tighten the windproof rope appropriately and adjust the tension of the tent so that the tent can better withstand wind. Note that the windproof rope should not be pulled too tight or too loose. Too tight may damage the tent, and too loose will not play a fixing role.
Adjustment and inspection: After the tent is installed, enter the interior for inspection. Make sure that the internal space of the tent is flat, without wrinkles or twists. Check whether each connection is tight and whether the ground nails and windproof ropes are firmly fixed. If any problems are found, adjust them in time. You can also shake the tent gently to test its stability. If there is shaking, further reinforce the ground nails and windproof ropes.
Mastering the entire installation process of the tent will allow you to quickly and smoothly build a comfortable "home" outdoors. Follow the steps and pay attention to every detail to provide a reliable shelter for your outdoor journey.